
We’ve got a new piece of kit in our university Makerspace! Thanks to Chris Price we’ve got a Brother Innovis NV880E embroidery machine https://www.brothermachines.com/sewing/2947/Innov-is_NV880E_Embroidery_Machine.
This is a sewing machine with a robotic element – you put material in an embroidery frame, and the machine moves the embroidery frame around in order to sew in different directions with different stitches. This means that you can sew patterns! Combined with an online system called TurtleStitch you can program embroidery using a blocks-based language. The machine also has some inbuilt patterns and text but these are not as exciting as being able to program embroidery…
My first test was (of course) using code downloaded from the Internet and featured the text “hello, word”. My second test was a firework I wrote myself and more text from the embroidery machine’s built-in fonts:

I had a couple of questions arising from this… what scales things are, what the stitch types are, and so on. I could have read the manual but instead decided to do a stitch test program. Here’s the program:
https://www.turtlestitch.org/users/handee/projects/stitchtest
And the image below has the results of running this through the machine.

This shows running stitch, triple run, cross stitch, zig zag, z stitch, satin stitch and tatami stitch, each stitch in a couple of varieties.
There followed a week or two of fiddling whilst also marking exams… I got more familiar with the software and explored different styles, and stitched through a whole pile of scrap material.
Eventually I came up with this set of seashells, using circles within circles
https://www.turtlestitch.org/users/handee/projects/shell-3
This was the first design I thought was good enough to try on a garment, so after a few test sews on scrap I dug out an old plain t-shirt and managed to get it into the machine. Getting the t-shirt into the machine is a challenge to be honest – you have to get the t-shirt + some backing material (which stops the t-shirt from stretching) into an embroidery frame and you have to work out what way up the frame needs to be with respect to the pattern. There’s a bit of logic puzzling to do, and a bit of stretchy material wrestling. It helps that the machine can rotate patterns easily.
It worked OK though, here it is!

The colours are separate from the code – in your code you can tell the program to change to a specific colour, and when it gets to that bit, the machine will stop and tell you to load a particular colour of thread. However the machine has no idea what colours it’s using, so you can say what you like in your design then pick out colours you like the look of when you come to threading the machine. I bought a pile of embroidery thread from the excellent Aberdashery to get us started, so there are quite a few colours to choose from in the makerspace.

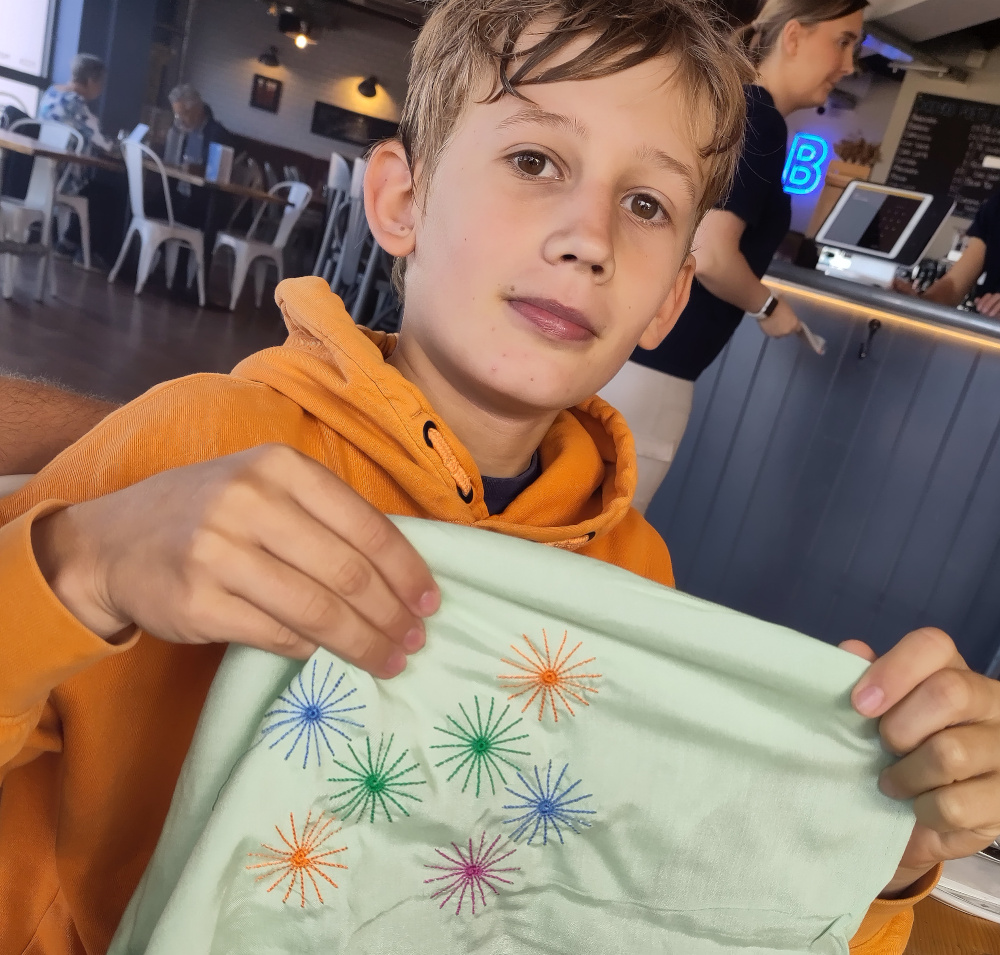
The next thing I tried is some coding with kids we had visiting over the summer – one was 9, one was 12. The 9-year-old did some stars using satin stitch, and 12-year-old used triple-running stitch. Coding wise they both grasped the idea of functions (self-defined blocks, in turtlestitch world) and the 12 year old who was scratch-fluent got variables too. The translation of code to thread and embroidery wasn’t smooth though, particularly with the satin stitch.
With the satin stitch star program, an 8-armed star meant that the machine went over the same area in satin stitch repeatedly (8 times) giving a huge number of stitches in a tiny area. The machine at this point ate the thread, and a bit of the cloth, and jammed with an alarming noise. I switched it off, manhandled the embroidery frame out of the way, and saw a clutch of pink spider legs threading out of the underside of the stitching area.

Part of the learning experience now involved taking the machine apart, and teasing out a surprisingly large ball of thread. This was not that challenging – the base is attached with screws that were just hand-tight, and talking to friends who sew this is not an unusual occurrence in sewing machines anyway.

The code from the 12 year old was a bit more successful, and I’ve now learned that triple running stitch is less likely to jam the machine than satin stitch. His code involved a star, then pen up and thread change, move, pen down, then another star, for four stars. All four stars didn’t all come out in the first test sew due to a code bug (the final star he’d forgot to do pen-down after finishing star 3).
I have not managed to get either of the kid’s programs onto t-shirts yet but that’s in the pipeline. What I am developing is a pile of scrap material with bits of embroidery on it – and a better understanding of how the machine works. It’s good fun but not as smooth as “write program, print embroidery” every time. I am now planning a kind-of test workshop with some friends to see how far we get.
Given my experiences with kids and coding and sewing, getting the code working is plausible but I have a lot more to learn about sewing!